


Shanti is built for content-first blogging. If you are starting a personal blog or travel blog, this setup flow gives you a clean structure from day one.
Because Shanti is a Full Site Editing theme, most changes happen in the Site Editor. You can adjust templates, template parts, and global styles without touching code.
1) Install and activate
Go to Appearance -> Themes and activate Shanti.
2) Open the Site Editor
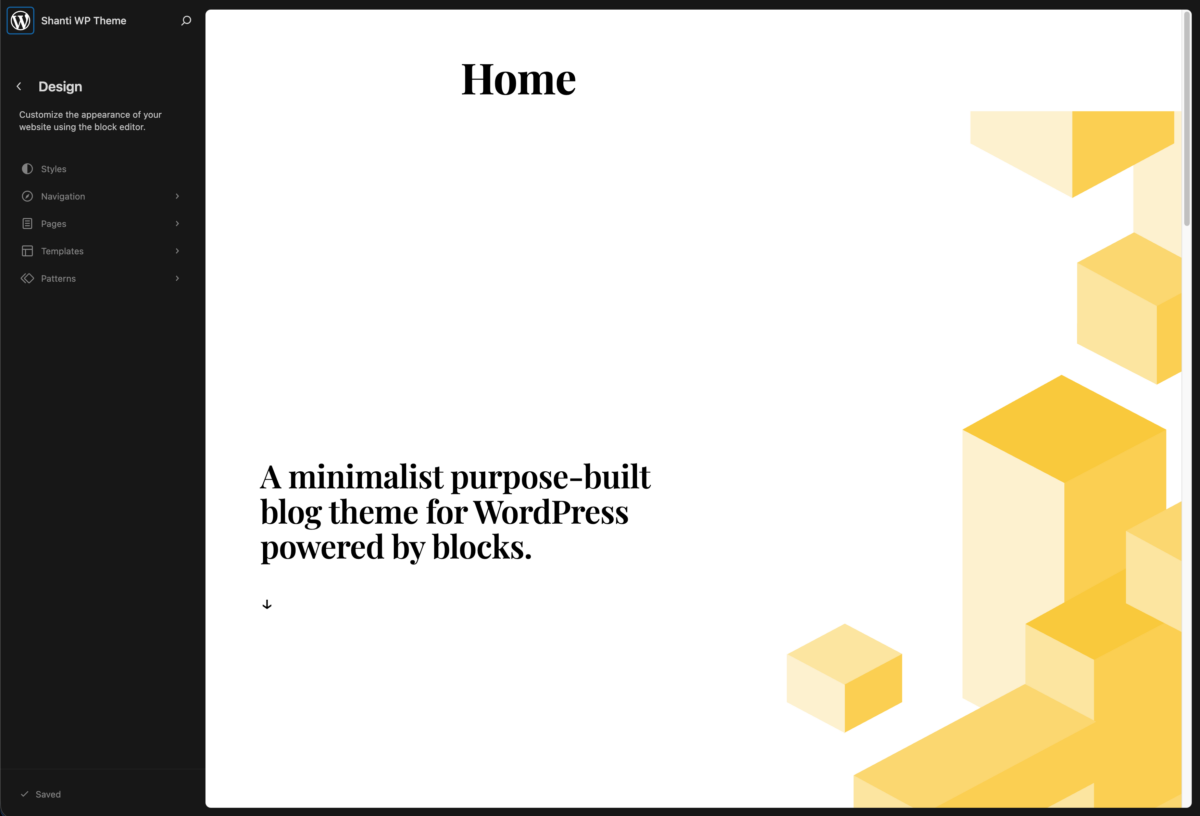
Go to Appearance -> Editor. This is where you manage:
- Templates (home, single, archive, page)
- Template parts (header, footer, sidebar)
- Global styles (typography, colors, spacing)
3) Set the homepage
Create a page for your homepage and assign it in Settings -> Reading.
If you want the demo structure, use the homepage pattern and then adjust the sections for your content.
4) Publish real posts early
Create and publish a few posts with:
- Featured images
- Categories
- Tags
This gives your query patterns real content to render while you build.
5) Check global styles
In the Styles panel, review:
- Heading and body typography
- Text contrast
- Vertical spacing rhythm
6) Review core templates
Before launch, quickly test:
- Single post template
- Archive template
- Default page template
Shanti works best when the content stays central. Start simple, publish, then refine.
Helpful next steps
- Read How Full Site Editing Changes the Way You Build Blogs for template strategy.
- Read Using Patterns in Shanti to Build Blog Layouts Faster for homepage and archive layouts.

Leave a Reply